-
Table of Contents
Introduction
To harvest mum seeds, wait until the flowers have wilted and the petals have fallen off. The center of the flower will then form a seed head. Allow the seed head to dry out completely on the plant before harvesting. Once dry, cut the seed head off and place it in a paper bag. Shake the bag to release the seeds from the head. Store the seeds in a cool, dry place until ready to plant.
5 Steps to Successfully Harvesting Mum Seeds
Mums, also known as chrysanthemums, are a popular fall flower that come in a variety of colors and sizes. While many people purchase mums as potted plants, some gardeners prefer to grow them from seed. Harvesting mum seeds can be a rewarding experience, but it requires patience and attention to detail. Here are five steps to successfully harvesting mum seeds.
Step 1: Choose the Right Time
The first step in harvesting mum seeds is to choose the right time. Mums typically bloom in the fall, and the seeds will be ready to harvest about six weeks after the flowers have faded. Look for the flower heads to turn brown and dry out before harvesting the seeds. If you wait too long, the seeds may fall out of the flower head and be lost.
Step 2: Collect the Seeds
Once the flower heads have dried out, it’s time to collect the seeds. Gently shake the flower head over a piece of paper or a container to release the seeds. You can also use your fingers to gently pull the seeds out of the flower head. Be careful not to damage the seeds, as this can affect their ability to germinate.
Step 3: Clean the Seeds
After you’ve collected the seeds, it’s important to clean them. Remove any debris or chaff from the seeds by gently blowing on them or using a fine mesh strainer. You can also use a small brush to remove any remaining debris. Cleaning the seeds will help ensure that they are healthy and ready to plant.
Step 4: Store the Seeds
Once the seeds are clean, it’s time to store them. Place the seeds in a small envelope or airtight container and label them with the date and variety of mum. Store the seeds in a cool, dry place until you’re ready to plant them. It’s important to keep the seeds dry, as moisture can cause them to mold or rot.
Step 5: Plant the Seeds
When you’re ready to plant the mum seeds, start by preparing the soil. Mums prefer well-draining soil that is rich in organic matter. You can also add a slow-release fertilizer to the soil to help the seeds grow. Plant the seeds about 1/4 inch deep and water them gently. Keep the soil moist but not waterlogged, and place the container in a warm, sunny location.
In conclusion, harvesting mum seeds can be a fun and rewarding experience for gardeners. By following these five steps, you can successfully harvest and plant mum seeds to grow your own beautiful fall flowers. Remember to choose the right time, collect and clean the seeds, store them properly, and plant them in well-prepared soil. With a little patience and attention to detail, you can enjoy the beauty of mums in your own garden.
Tips and Tricks for Collecting and Storing Mum Seeds
Mums, also known as chrysanthemums, are a popular fall flower that come in a variety of colors and sizes. If you’re a gardener who loves to grow mums, you may be interested in harvesting their seeds to grow more plants in the future. Harvesting mum seeds is a simple process that can be done in just a few steps. In this article, we’ll provide you with some tips and tricks for collecting and storing mum seeds.
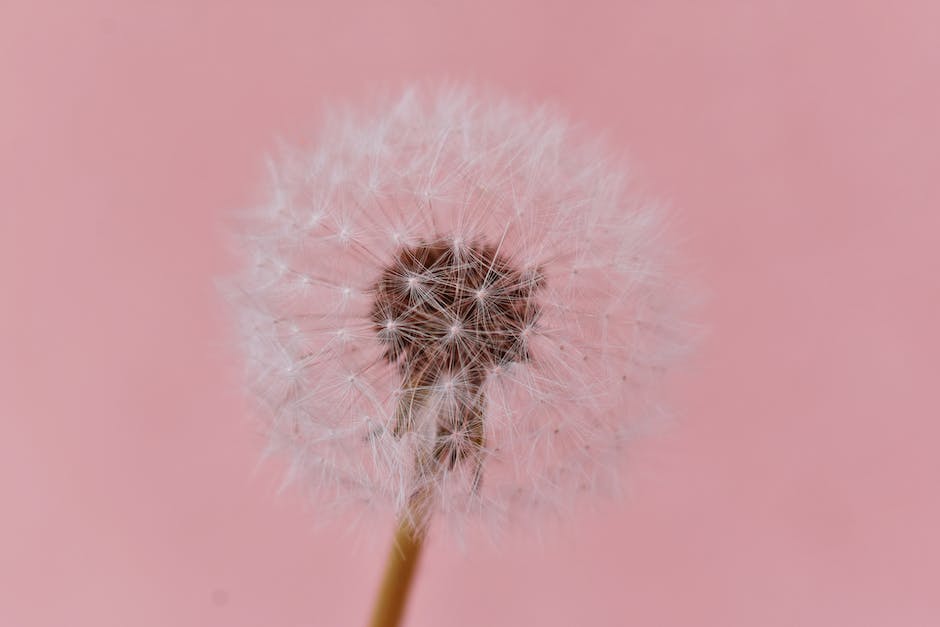
The first step in harvesting mum seeds is to wait until the flowers have finished blooming and the petals have fallen off. This is when the seeds will be fully developed and ready to harvest. You’ll want to look for the seed heads, which are small, round, and located in the center of the flower. They will be green at first, but will turn brown as they mature.
Once you’ve located the seed heads, you can begin harvesting the seeds. The easiest way to do this is to simply cut off the entire seed head with a pair of scissors or pruning shears. Be sure to cut as close to the stem as possible to avoid damaging the seeds. You can also gently pull the seed head off the stem if it’s loose enough.
After you’ve harvested the seed heads, you’ll want to dry them out before storing them. This can be done by placing them in a paper bag or envelope and leaving them in a cool, dry place for a few weeks. You can also spread them out on a flat surface, such as a tray or baking sheet, and leave them in a well-ventilated area to dry.
Once the seeds are fully dry, you can begin storing them. The best way to store mum seeds is in an airtight container, such as a glass jar or plastic bag. Be sure to label the container with the type of mum and the date that the seeds were harvested. This will help you keep track of which seeds are which and how old they are.
It’s important to store mum seeds in a cool, dry place to prevent them from molding or rotting. A pantry or closet is a good place to store them, as long as it’s not too humid. You can also store them in the refrigerator or freezer, but be sure to let them come to room temperature before planting.
When it’s time to plant your mum seeds, you’ll want to start them indoors about 6-8 weeks before the last frost date in your area. You can plant them in small pots or seed trays filled with potting soil. Be sure to keep the soil moist but not too wet, and place the pots in a warm, sunny location.
Once the seedlings have grown to about 2-3 inches tall, you can transplant them into larger pots or directly into your garden. Be sure to space them out properly and provide them with plenty of water and sunlight. With proper care, your mum seeds will grow into beautiful, healthy plants that will provide you with colorful blooms for years to come.
In conclusion, harvesting mum seeds is a simple process that can be done in just a few steps. By waiting until the flowers have finished blooming, cutting off the seed heads, drying them out, and storing them in a cool, dry place, you can ensure that your mum seeds will be viable for planting in the future. With a little bit of care and attention, you can grow your own beautiful mums and enjoy their colorful blooms year after year.
Q&A
1. When should I harvest mum seeds?
You should harvest mum seeds when the flower heads have turned brown and the petals have fallen off.
2. How do I harvest mum seeds?
To harvest mum seeds, cut off the flower heads and place them in a paper bag. Allow the flower heads to dry out completely before shaking the bag to release the seeds. Store the seeds in a cool, dry place until you are ready to plant them.
Conclusion
To harvest mum seeds, wait until the flowers have wilted and the petals have fallen off. The center of the flower will then form a seed head. Allow the seed head to dry out completely before harvesting the seeds. Once the seeds are dry, gently remove them from the seed head and store them in a cool, dry place until ready to plant.


